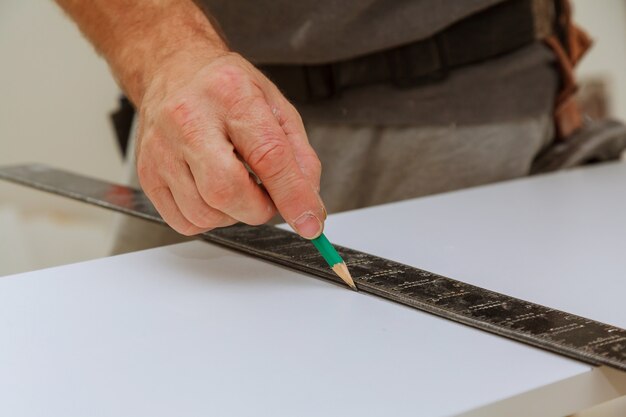
Easy Ways to Fix Wall Bumps Without Breaking the Bank
Walls can tell a thousand stories. But not all of them are ones you want to show off. From moving day mishaps to everyday life bumps, our walls can end up with minor dings, dents, and marks. While these blemishes might seem daunting, fixing them doesn't have to be expensive or complicated. There are plenty of budget-friendly solutions to restore your walls to their former glory. Let's explore some practical tips and techniques to address these common wall problems.
Understanding Wall Imperfections
Before diving into fixes, it's essential to understand what you're dealing with. Different imperfections call for different solutions.
Dings
Dings are minor indentations or small holes that often occur from everyday accidents. Think of that time you swung a door open too hard or nudged furniture into a wall corner. Dings are typically small and shallow, making them relatively straightforward to fix.
Dents
Dents are slightly larger concavities that form when a more significant impact affects the drywall or plaster. This can happen during a spirited game of indoor soccer or when shifting heavy furniture. Dents may require a bit more attention than dings.
Marks
Marks, unlike physical indentations, are visible blemishes on the surface of the wall. They can arise from crayons, furniture scuffs, or dirty handprints. While less intrusive than dings or dents, marks can discolor walls and affect their aesthetic.
Budget-Friendly Fixes
Once you've identified the type of wall blemish, it's time to tackle the fix. Here’s how you can take action without spending a fortune:
Patching Up Dings
Clean the Area: Before starting, ensure the area around the ding is clean and free of dust. A quick wipe with a damp cloth can do the trick.
Apply Spackle: Use a small putty knife to apply a dollop of spackle directly into the ding. Smooth it over until it's flush with the wall surface.
Sand: Once the spackle is dry, gently sand it down with fine-grit sandpaper until smooth.
Paint: Touch up with matching paint to blend the repair seamlessly with the rest of the wall.
Dealing with Dents
Wash First: Clean the area as debris can affect the adhesion of repair materials.
Fill with Joint Compound: Use a joint compound, applying it in thin layers. Allow each layer to dry before applying the next.
Sand Smooth: Sand the repair area until it's even with the surrounding wall using a fine-grit sandpaper.
Prime and Paint: Finally, apply a coat of primer followed by paint that matches the wall color for a flawless finish.
Removing Marks
Magic Eraser: Use a damp magic eraser to lightly rub away marks. These tools work wonders on various marks without damaging paint.
Baking Soda Paste: Mix baking soda with water to create a paste. Gently rub it on the mark using a cloth, then wipe clean.
Vinegar Solution: Dab a mix of vinegar and water onto a cloth and scrub gently. This works well with tougher stains.
Additional Wall Care Tips
Prevent Future Dings and Dents
- Door Stoppers: Install door stoppers to prevent damage from swinging doors.
- Furniture Pads: Attach felt pads to furniture legs to avoid marking or denting walls.
- Cushions: Placing cushions on sharp furniture edges can also prevent accidental wall damages.
For Permanent Paint Matching
- Save Paint Samples: Always save a paint sample after you finish a project. This makes future touch-ups easier and ensures a perfect match.
- Document Paint Details: Write down paint codes and brand information for walls. You never know when you'll need to do a bigger touch-up or repaint.
Common Mistakes to Avoid
Even with the best intentions, it's easy to make mistakes. Here are a few pitfalls to watch out for:
- Skipping the Primer: Always use primer when touching up bigger patches. It ensures paint adheres properly and matches the surrounding wall.
- Over-Sanding: Be cautious when sanding repaired areas. Over-sanding can damage surrounding paint.
- Ignoring Underlying Issues: If dings and dents keep appearing, it might be a sign of a bigger issue. Ensure there’s no structural damage or moisture problem lurking.
Quick Fix Summary: 🧰
Here's a glance at key takeaways for fixing wall imperfections:
- Dings: Clean ➡️ Spackle ➡️ Sand ➡️ Paint
- Dents: Clean ➡️ Fill ➡️ Sand ➡️ Prime & Paint
- Marks: Use Eraser/Baking Soda/Vinegar Solution
Preventive Measures 🛡️
- Install door stoppers and furniture pads.
- Use paint samples and document paint details for easy matching.
Common Mistakes 🚫
- Never skip primer.
- Avoid over-sanding patched areas.
- Check for deeper underlying wall issues if the problem persists.
Bringing It All Together
Dealing with unsightly wall blemishes can seem overwhelming at first. However, with a firm understanding of the problem and access to simple, cost-effective solutions, restoring your walls can be a straightforward weekend project. Armed with the right techniques and a proactive mindset, you can maintain your walls and ensure they remain a testament to your style and care—or at least, don’t tell stories you'd rather keep secret!
Remember, maintaining your walls is an ongoing task. Implement preventive measures and enjoy exploring different aesthetic choices. Whether you're fixing dings, addressing dents, or erasing marks, you're adding value and beauty to your living space.

Related Topics
- A Comprehensive Guide To Community Cooperative Childcare: A Grassroots Solution
- A Guide To Online Second-Hand Shopping: Platforms, Tips, And Tricks
- Affordable After-School Programs And Clubs: A Complete Guide
- Affordable Group Therapy: Benefits And How To Find
- Affordable Natural Therapies For Mental Well-being
- Avoiding Financial Scams And Pitfalls: A Comprehensive Guide
- Backpacking On a Budget: A Guide For The Minimalist Traveler
- Beginners Guide To Thrifting: Stretching Your Dollar Further
- Beyond Clothing: Thrifty Finds For Home And Kitchen
- Budget-friendly Garden Start-ups: From Seeds To Harvest
