Easy Steps to Change Your Thermostat: A Complete Guide
Are you still using an outdated thermostat that leaves you guessing at the best-guess temperature settings? Switching to a modern thermostat can transform your home's comfort and energy efficiency. Whether you're after a simple model or a smart, Wi-Fi-enabled option, changing a thermostat need not be an intimidating task. This guide will walk you through the process with ease, ensuring you’re equipped for success.
📦 Why Change Your Thermostat?
Before diving into the steps, let's explore some reasons why changing your thermostat could benefit you:
- Energy Efficiency: Newer thermostat models are designed to optimize energy use, potentially lowering utility bills.
- Enhanced Comfort: Better temperature control ensures consistent comfort throughout your living spaces.
- Smart Features: Modern thermostats come with programmable settings and remote access, allowing adjustments via smartphone apps.
- Increased Home Value: Upgrading to a smart thermostat can add value and appeal if you’re planning to sell.
🔧 Tools and Materials You’ll Need
To facilitate a smooth replacement, gather these essentials before you start:
- Flathead and Phillips Screwdrivers: Essential for removing and installing screws.
- Drill (optional): Useful if new mounting holes are required.
- Pencil: Marking holes for wall anchors and mounting plates.
- Digital Camera or Smartphone: Helpful for documenting wire connections.
- Level: Ensures correct horizontal alignment.
- Wire Labels: Easily identify wires during the reinstallation process.
- New Thermostat: Choose one that suits your needs.
Step-by-Step Guide to Changing Your Thermostat
Step 1: Power Off the System
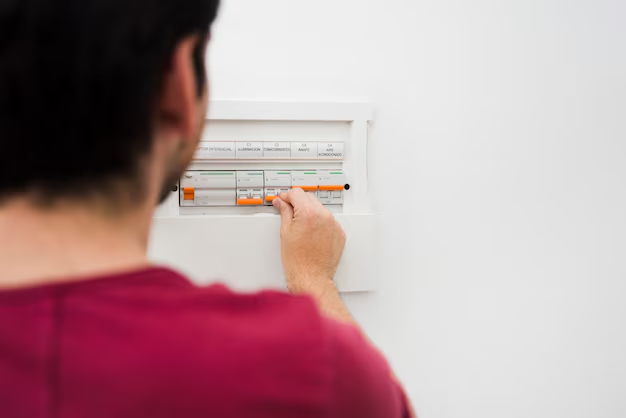
Safety First! Ensure that you switch off your HVAC system at the circuit breaker box. This prevents electric shock and protects your new thermostat from damage.
Step 2: Remove the Old Thermostat
Detach the Cover: Gently remove the faceplate of the existing thermostat. Many models pop off, while others may require screws to be loosened.
Label the Wires: As you expose the wires, label each according to their terminal connections. This makes reattaching to the new thermostat straightforward.
Take a Photo: Document the current wire configuration before detaching them. This serves as a reference if needed.
Disconnect Wires: Use the screwdriver to loosen terminal screws and free the wires.
Remove the Mounting Plate: Unscrew and take out the old mounting plate.
Step 3: Install the New Thermostat
Mounting Plate Attachment: Secure the new mounting plate to the wall. Align properly and use a level for precision.
Connect the Wires: Reference your photo to attach each wire to the corresponding terminal on the new thermostat.
Attach the Faceplate: Snap or screw the new thermostat’s faceplate into place.
Step 4: Turn the Power On
Head back to the circuit breaker box and restore power to your HVAC system.
Step 5: Program Your New Thermostat
Modern thermostats typically require some initial setup, such as:
- Setting the Date and Time: Ensures accurate programming.
- Configuring Daily Schedules: Tailor temperature settings for comfort and efficiency throughout the day.
- Connecting to Wi-Fi: For smart models, sync the thermostat with your home network for remote access.
Troubleshooting Common Issues
Display Issues
If the display doesn't power on, recheck the wiring connections for tightness and correct alignment.
HVAC System Not Responding
Ensure the HVAC system's power is on and follow the manual's troubleshooting recommendations. Verify thermostat settings are correct, and consult a professional if issues persist.
Expanding Your Home's Comfort With Smart Features
Benefits of Smart Thermostats
Remote Access: Adjust your home's temperature on the go via mobile apps. Learning Capabilities: Some models learn your preferences and automatically optimize temperatures. Energy Reports: Receive insights on energy usage to enhance efficiency.
🌐 Understanding Compatibility
Ensure the thermostat you choose is compatible with your existing HVAC system. If you have a more complex system with multiple heat sources, consult a professional.
Important Considerations
- Energy Star Certification: Models with this label meet energy efficiency guidelines.
- Ease of Use: Consider user-friendly interfaces and mobile app functionality.
- Future Proofing: Selecting a unit that can be updated is a long-term investment.
⚠️ Safety and Maintenance Tips
- Regularly Update Firmware: Smart thermostats often receive updates for improved performance.
- Annual Inspections: Periodically check wires and connections to ensure everything remains secure.
- Read Installation Guide: Always thoroughly read the manual for model-specific instructions.
🔍 Quick Reference Guide to Thermostat Replacement
Here's a concise summary for a hassle-free thermostat upgrade:
- 🚫 Power Off: Before removing your old thermostat, shut off the power.
- 🏷️ Label Wires: Avoid confusion by labeling wires according to terminal points.
- 🔄 Mounting Plate: Secure the new plate using a level.
- 💡 Rewire Motions: Attach wires to appropriate terminals using your notes and photos.
- 🤝 Engage Power: Restore power at the circuit breaker and program your thermostat.
Adapting to a new thermostat may come with a learning curve, but it’s a worthwhile endeavor for improved comfort and savings. With mindful installation and programming, your new thermostat can become a burden lifted from your daily routine, leaving you to enjoy a perfectly regulated home environment.
Related Topics
- How Can I Change Text Message To Imessage
- How Can You Change a Jpeg To a Pdf
- How Do I Change a Jpeg To a Pdf
- How Do I Change a Pdf To a Jpg
- How Do I Change a Pdf To a Word Document
- How Do I Change a Repeating Decimal To a Fraction
- How Do I Change a Text Message To An Imessage
- How Do I Change From Text To Imessage
- How Do I Change Lowercase To Uppercase In Word
- How Do I Change My Political Party To Independent
