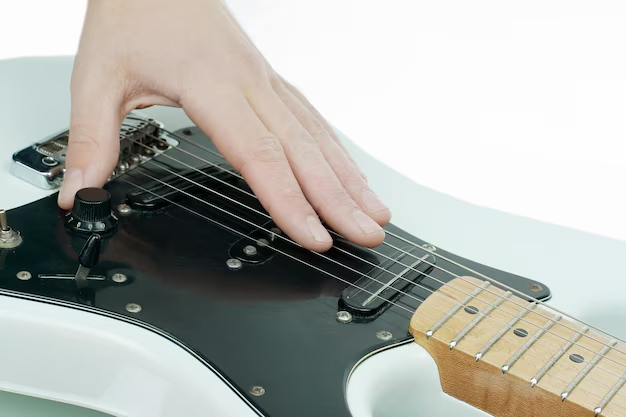
Mastering the Art of Restringing: A Guitarist’s Guide to Changing Acoustic Guitar Strings
Changing the strings on your acoustic guitar can seem daunting if you've never done it before. Whether you're gearing up for a gig or simply trying to maintain the integrity of your sound, learning how to properly restring your guitar is an essential skill for any musician. This comprehensive guide will walk you through the process, ensuring you get back to playing with a fresh set of strings and renewed confidence.
🎸 Why Changing Your Guitar Strings Matters
Old guitar strings can become dull and lifeless, affecting the overall tone and playability of your instrument. String changes are part of regular maintenance that keeps your guitar producing the vibrant and resonant sound that made you fall in love with playing music in the first place. Fresh strings enhance tone, sustain, and tuning stability—key factors in delivering a great performance.
Recognizing When It's Time for a Change
While the regularity of changing strings largely depends on how frequently you play, here are a few signs that indicate it might be time for a swap:
- The strings sound dull or muted.
- Tuning becomes unstable quickly.
- The strings show visible signs of wear or corrosion.
- Feeling rough patches or rust under your fingers while playing.
🎶 Getting Started: What You’ll Need
Before diving into the restringing process, make sure you have these essential tools and materials:
- New strings: Ensure you select the right gauge and material for your playing style and guitar.
- String winder: This tool makes the process of winding new strings much quicker.
- String cutter: You'll need something to trim the excess string after installation.
- Tuner: Ensures your guitar is in perfect pitch once the new strings are installed.
- Polish and cloth: Ideal for cleaning the guitar while the strings are off.
🧩 Step-by-Step Guide to Changing Acoustic Guitar Strings
Preparing Your Workspace
Set the scene: Find a well-lit area with a flat surface. A soft towel can protect your guitar’s finish as you work.
Removing the Old Strings
- Loosen the strings: Use the tuning peg to slacken each string. Pluck it gently until it becomes loose enough to remove.
- Detach the strings from the tuning pegs: Unwind and remove the string from the tuning post.
- Remove the bridge pins: Use a string winder or a bridge pin puller to gently remove the pins from the bridge. Be careful not to damage the guitar’s body.
Cleaning the Guitar
With the strings removed, seize the opportunity to clean your guitar. Remove dust and oils that accumulate over time. This small step can significantly enhance your instrument's lifespan.
Installing New Strings
- Insert the New String: Place the ball end of the new string into the bridge and replace the bridge pin, ensuring it is secure.
- Threading to the Tuning Peg: Align the string with the corresponding peg, ensuring it’s in the correct nut slot.
- Winding the Strings: Feed the string through the peg hole, leaving some slack. As you turn the tuning peg, ensure the string winds neatly around the post, from the inside out.
Tuning Up
Once all strings are securely attached and wound, use your tuner to bring each string up to pitch. It’s normal for new strings to stretch and go out of tune quickly, so it may take several passes to stabilize completely.
🎵 Essential Tips for a Successful Restring
- Avoid over-tightening: Especially with new strings, over-tightening can lead to breakage.
- Stretch the Strings: Gently pulling on strings along the neck can help them settle and stay in tune.
- Check your tuner regularly: It helps to ensure each string maintains correct tuning over time.
🎯 Recap: Key Steps to Restringing Your Acoustic Guitar
Here’s a quick rundown of what we've covered:
- 🌟 Tools Needed: Gather new strings, a string winder, cutter, tuner, and cleaning supplies.
- 🪛 Remove and Dispose: Carefully detach old strings and use this time to clean your guitar.
- 🔄 Install with Precision: Replace each string, making sure it’s wound correctly and secure on the tuning peg.
- 🎯 Final Tune: Tune each string, anticipate some stretching, and make final adjustments.
Handy Tips 🛠️
- String Compatibility: Ensure you choose strings that fit your acoustic guitar's design.
- Consistent Maintenance: Develop a regular schedule for changing strings based on your playing habits and environment.
- Experimentation: Don't be afraid to try different string brands or materials to find the best fit for your sound preferences.
Replacing your strings might seem like a small task, but it could make a world of difference to your sound and playing experience. Whether you're strumming soothing ballads or picking out complex riffs, fresh strings will help ensure your performance resonates. Keep these tips in mind and embrace the change. Happy playing!
Related Topics
- How Can I Change Text Message To Imessage
- How Can You Change a Jpeg To a Pdf
- How Do I Change a Jpeg To a Pdf
- How Do I Change a Pdf To a Jpg
- How Do I Change a Pdf To a Word Document
- How Do I Change a Repeating Decimal To a Fraction
- How Do I Change a Text Message To An Imessage
- How Do I Change From Text To Imessage
- How Do I Change Lowercase To Uppercase In Word
- How Do I Change My Political Party To Independent
