The Ultimate Guide to Changing Your Apple Watch Band: Elevate Your Style Effortlessly
Apple Watch enthusiasts know that customizing the look of their device is one of its most appealing features. Whether you're switching from a sporty silicone band for gym workouts to a sleek metallic band for an evening out, being able to change your Apple Watch band effortlessly is part of why it stands out. If you've been wondering how you can do it with finesse and ease, you’re in the right place. Let's dive into everything you need to know.
Why Change Your Apple Watch Band?
Changing your Apple Watch band is not just about aesthetics; it also offers several practical benefits. Here’s why you might consider transforming your watch's appearance:
✨ Enhance Your Style
Personal Expression: Changing your band lets you express different aspects of your style. With options from leather, nylon, stainless steel, and more, your watch can become an extension of your unique personality.
🏋️♂️ Boost Functionality
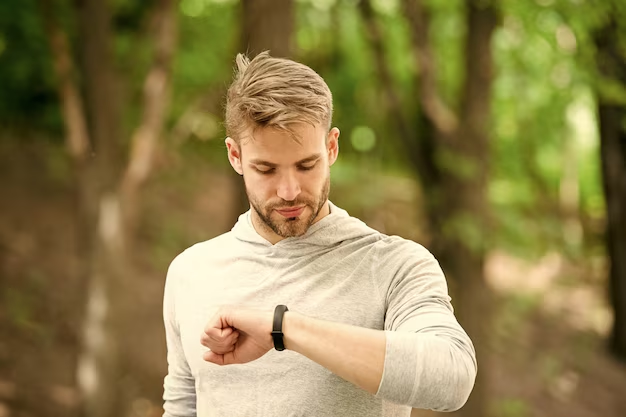
Match Function to Activity: Some bands are designed specifically for certain activities or environments. For instance, the sports band is especially practical for fitness enthusiasts thanks to its lightweight and sweat-proof design.
🌿 Comfort and Maintenance
Seasonal Variation and Skin Sensitivity: Different materials suit different skin types and climates. A breathable band might be more comfortable in summer, whereas leather can provide a snug fit during cooler seasons.
Understanding these reasons makes changing your Apple Watch band more than just a superficial decision—it's a smart move for anyone looking to optimize their Apple Watch experience.
How to Change Your Apple Watch Band: Step-by-Step
Now that we know why you might want to switch bands, let's walk through the process step-by-step.
Step 1: Prepare Your Workspace
Before you begin, lay down a soft cloth or towel on your workspace. This ensures your watch and any tools used are protected from scratches.
Step 2: Turn Off Your Apple Watch
While it’s not necessary to turn off your watch before changing the band, it's a good precautionary measure against accidental touches.
Step 3: Remove the Current Band
- Locate the Band Release Buttons: Flip your Apple Watch over and identify the two band release buttons situated at the back.
- Press the Button: Firmly press the release button on the top or bottom, depending on which band half you're removing.
- Slide Out the Band: While pressing the button, gently slide the band out sideways. If it seems stuck, avoid forcing it, and ensure you are pressing the button fully.
Step 4: Attach the New Band
- Align the Connector: With the printed side of the band facing you, align the connector with the slot on the watch.
- Slide the Band In: Gently slide the band into the slot. You should feel a slight click when the band connects securely.
- Test Security: Wiggle the band gently to check it’s secure. If it slides, repeat the insert process.
Step 5: Turn Your Watch Back On
Enjoy your newly styled Apple Watch once your bands are in place and the device is powered up.
Picking the Right Band for You
Choosing a new band isn't just about function; it's also a journey of self-expression. Let’s explore how to pick the best band for various occasions and needs.
🏆 Style Preferences
- Classic Elegance: Leather bands offer a timeless appeal and come in various colors and finishes.
- Modern Chic: Metal bands, such as stainless steel or Milanese loops, provide a classy, futuristic look.
- Playful and Colorful: For a pop of color, silicone and nylon bands offer a variety of hues to match your mood or outfit.
🌿 Comfort Considerations
- Breathability: If you live in a hot climate or have sensitive skin, consider a band made from woven nylon or other breathable materials.
- Softness and Flexibility: Silicone bands are excellent for those who prefer comfort during extended wear.
💪 Durability and Activity
- Sports and Sweat-Resistance: Active users would benefit from the durability and sweat-resistance of specialized sports bands.
- Daily Wear: If you’re looking for something for everyday use, consider a resilient leather or metal band that can withstand various conditions.
Troubleshooting Common Issues
Despite the simplicity of changing Apple Watch bands, you might encounter some hiccups. Here’s how to navigate them.
Stubborn Bands
- Stuck Band: Ensure you are pressing the release button completely and try sliding the band out gently, rather than forcing it.
- Button Issues: If the band release button isn’t working, a quick clean might help. Use a soft brush to remove debris.
Secure Fit Problems
- Loose Connection: Double-check that the band has clicked into place—it should not slide easily once installed.
- Fitting Mismatches: Ensure compatibility between your watch size (e.g., 40mm or 44mm) and the band.
Skin Sensitivity
- Irritation: If you notice skin irritation, consider a hypoallergenic material or switch to a different band designed for sensitive skin.
Tips for Maintaining Your Apple Watch Bands
Maintaining the longevity and aesthetic of your Apple Watch bands can keep them looking new and prolong their life.
Cleaning
- Silicone and Nylon Bands: Use a damp cloth and mild soap. Rinse well and dry fully before reattaching.
- Leather Bands: Wipe with a slightly damp cloth and avoid soaking in water. Applying a leather conditioner helps maintain softness and prevent cracking.
Storage
- Safe Keeping: Keep your bands in a dry, cool place away from direct sunlight. This prevents discoloration and damage over time.
Routine Checks
- Regular Inspection: Check your bands regularly for wear and tear. Replace any damaged bands promptly to ensure safety and comfort.
Quick Tips for Band Maintenance 🧹
Here’s a succinct list of tips to ensure your Apple Watch bands remain in top condition:
- 🧼 Regular Cleaning: Keep bands free from sweat and dirt by cleaning them based on material type.
- ☀️ Avoid Extremes: Store in a cool, dry place, away from extreme sunlight or moisture.
- 🔄 Rotation: Have multiple bands for different activities and environments to reduce wear.
- 🧴 Condition Regularly: Leather bands benefit from occasional conditioning to maintain their appearance.
Changing your Apple Watch band can be a delightful experience, seamlessly adding style, functionality, and comfort to your daily routine. With this comprehensive guide, you're now equipped to navigate the process with confidence and flair. Enjoy exploring the myriad of options available and make your Apple Watch truly yours.
Related Topics
- How Can I Change Text Message To Imessage
- How Can You Change a Jpeg To a Pdf
- How Do I Change a Jpeg To a Pdf
- How Do I Change a Pdf To a Jpg
- How Do I Change a Pdf To a Word Document
- How Do I Change a Repeating Decimal To a Fraction
- How Do I Change a Text Message To An Imessage
- How Do I Change From Text To Imessage
- How Do I Change Lowercase To Uppercase In Word
- How Do I Change My Political Party To Independent
